There’s something so fulfilling about growing your own herbs, isn’t there? Not only do they add incredible flavor to your meals, but they also come with a world of health benefits. And the best part?
You can preserve their healing power long after they’ve been harvested!
This week, we’re diving into how to dry, store, and use your homegrown herbs, so you can enjoy their natural remedies all year long.
The Healing Power of Herbs
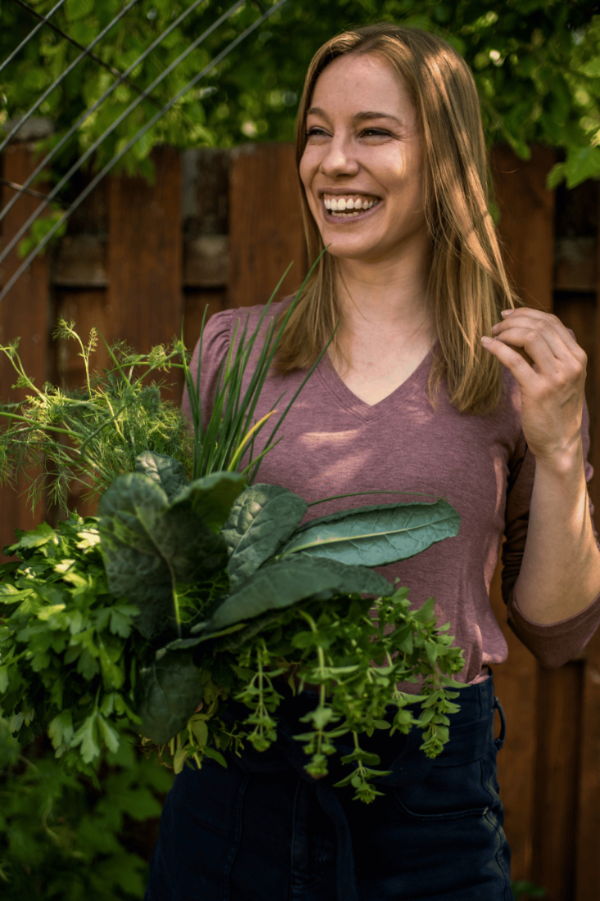
Herbs are more than just a garnish—they’re packed with healing properties that can support your immune system, ease digestion, and reduce inflammation.
Whether it’s calming chamomile, detoxifying parsley, or soothing lemon balm, your garden has everything you need to create natural remedies that help your body heal and thrive.
How to Dry Your Herbs
Drying your herbs is the best way to preserve their healing properties and flavor. Here’s how to do it:
- Air Drying: This is the easiest and most natural method. Simply gather small bunches of herbs, tie them with twine, and hang them upside down in a dry, well-ventilated space. Within 1-2 weeks, they’ll be crisp and ready to use!
- Oven Drying: If you’re short on time, you can dry herbs in the oven. Spread them on a baking sheet and bake at the lowest temperature (usually around 180°F) for about 2-4 hours. Be sure to check them regularly to avoid burning.
- Dehydrator: If you have a food dehydrator, it’s an excellent tool for preserving herbs while maintaining their healing properties. Set your dehydrator to 95°F and let them dry for 12-24 hours, depending on the herb.

Storing Your Herbs
Once your herbs are completely dry, proper storage is key to keeping their healing properties intact:
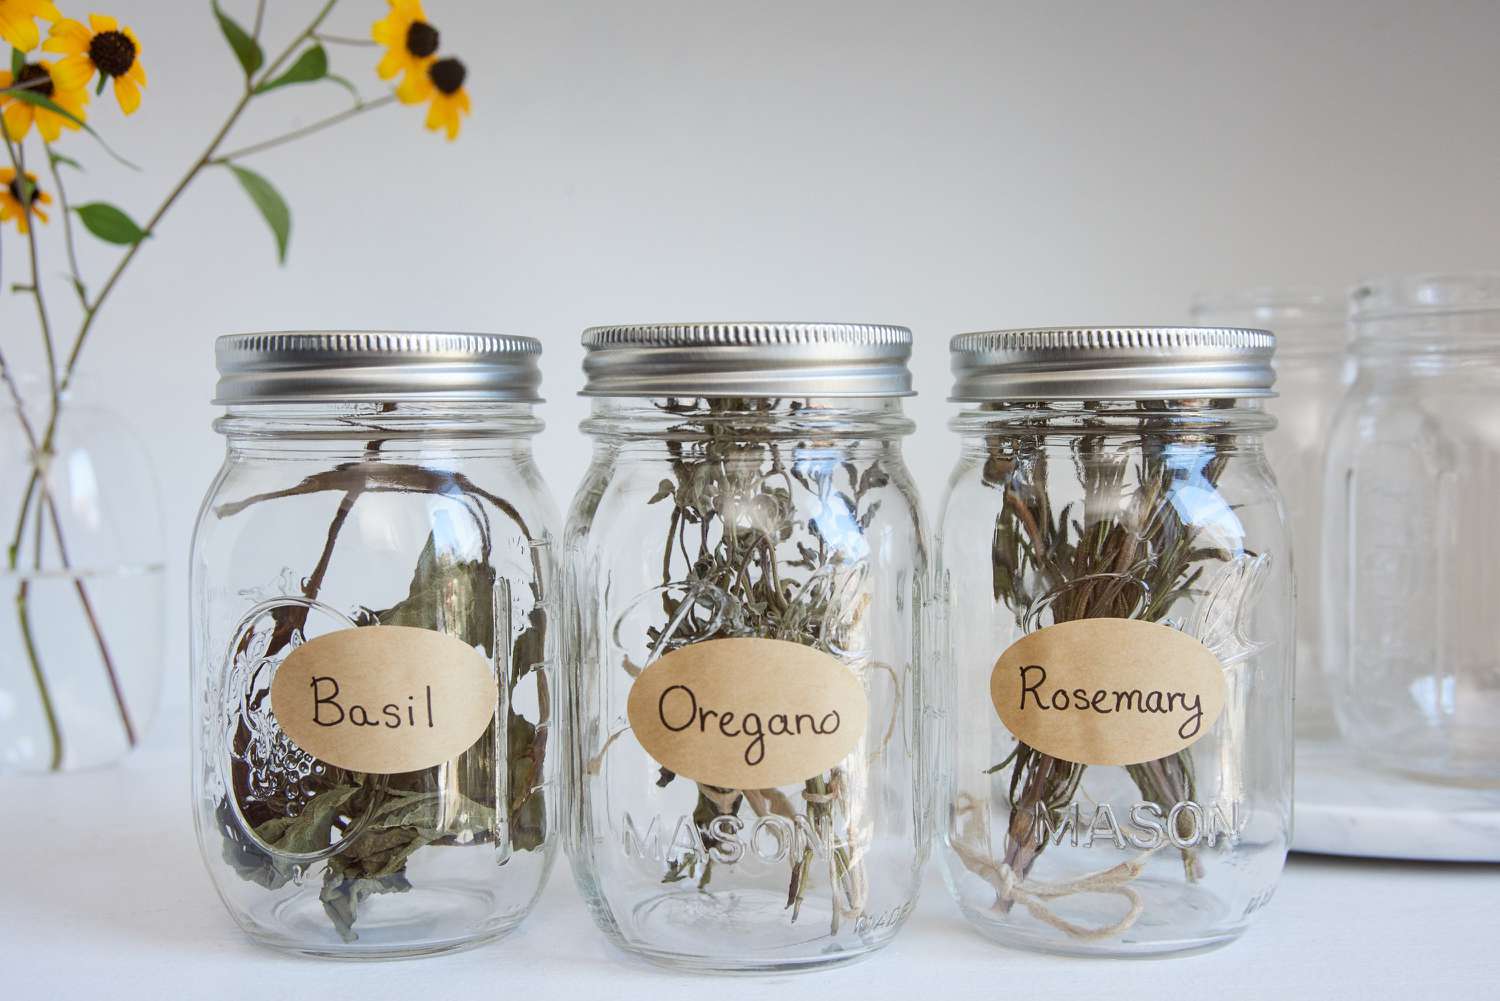
- Use Airtight Containers: Store your dried herbs in glass jars with tight-fitting lids. Mason jars work great!
- Keep Them Cool and Dark: Place your jars in a cool, dark cupboard away from heat and light, which can break down the herbs’ essential oils.
- Label Your Herbs: Don’t forget to label your jars with the herb name and date, so you can keep track of their freshness. Dried herbs typically last for about a year.
Using Your Healing Herbs
Now for the fun part—using your herbs! Here are a few simple ways to incorporate them into your daily routine:
- Herbal Teas: Steep dried chamomile, mint, or lemon balm in hot water for a soothing, healing tea that calms the mind and body.
- Herb-Infused Oils: Infuse olive oil with dried rosemary or thyme for a heart-healthy oil that can be used for cooking or even as a skin treatment.
- Tinctures: Create your own tinctures by steeping dried herbs in alcohol for 4-6 weeks. This creates a concentrated extract that you can use for immune support or digestive health.

A Little Goes a Long Way
One of the beautiful things about herbs is that you don’t need much to make a big impact. Just a small pinch of dried herbs can add healing power to your meals, drinks, or even your skincare routine. By growing, drying, and storing your own, you’re making an investment in your health that will last you throughout the year.
Keep in Touch!
Want to say no to plastic herb packets from the grocery store and YES to your natural home-grown herbs?
I’d love to help you grow your garden.

