Garlic is RIDICULOUSLY easy to grow. Seriously. Here’s how:
- Step 1: Buy garlic bulbs
- Step 2: Break garlic bulbs apart into cloves and plant them in November
- Step 3: Harvest your garlic in July or August of the next year.
Done. It’s seriously that easy. But just because I want to ensure you succeed, let me add a little color to the steps above.
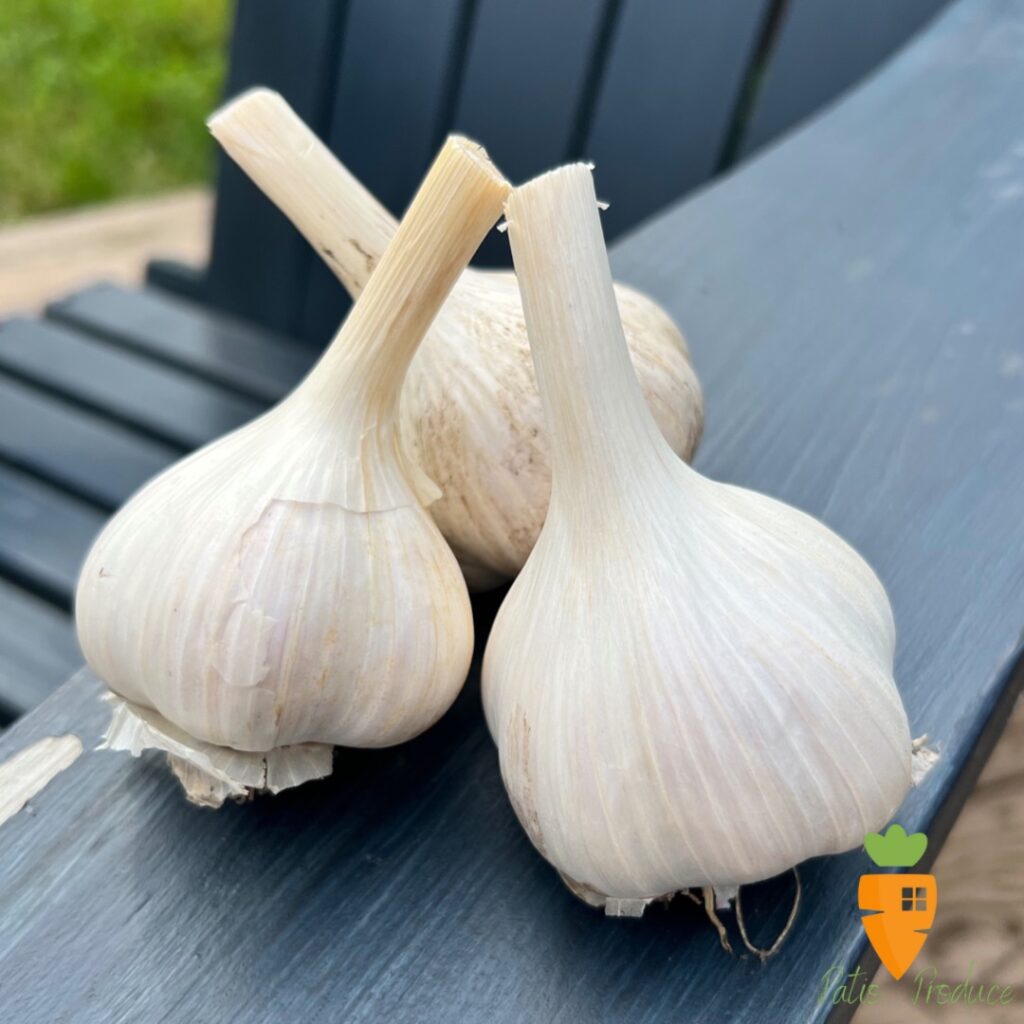
What Kind of Garlic Bulbs Should You Buy?
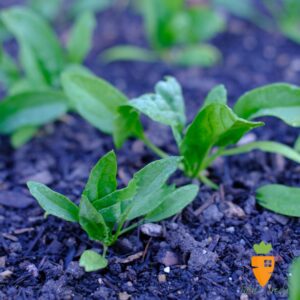
High-quality seed garlic, which is different than the garlic you can buy in the grocery store. How do I know? I did an experiment. Guess which year is the high-quality seed garlic:

You guessed it. 2022. And I’m never looking back.
When you shop for garlic cloves, you might notice that there are two main types: Hardneck and Softneck garlic. Which should you buy? I’d recommend Hardneck. Each clove is bigger and they’re a bit easier to peel!
Where Should I Buy My Garlic?
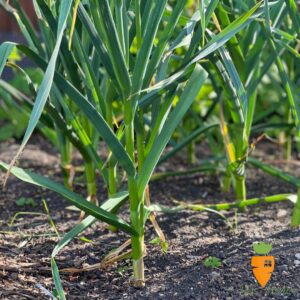
My hands-down, all-time favorite garlic grower is Fruition Seeds, a small, organic, woman-owned seed company from New York. These people are straight-up gifted at growing seed garlic. My 2022 garlic above is from Fruition and I can’t say enough about how healthy the plants were the whole season. They popped up first thing in April with the most vibrant, healthy green tops, so I knew I had a winner.
Their garlic sells out fast every year, so if you’d like to order from them, order as soon as you can! The link above isn’t an affiliate – I just like their garlic that much.
If you want another option, your local plant nursery will have a variety of garlic bulbs for you. The nursery will be really excited to see someone buying something other than mums this fall!
 How Do I Plant Garlic?
Wait until November, when the ground is close to freezing, to plant. You want it to be cold so your garlic cloves know it’s time to hibernate and don’t waste energy trying to push leaves above the ground.
Break apart your garlic bulb into its individual clove parts. No need to peel the garlic like you would for cooking. Make sure you’ve added a layer of compost to the top of your garlic planting area and loosened the soil with a garden fork.
Plant each clove, skinny tip up, two or three inches deep and at least six inches away from any other clove. I find that rows make it easier to keep track. Cover the area with a deep layer of mulch to protect the garlic from our next polar vortex.
Your final step is settling in with some hot apple cider and allowing yourself a bit of pride for a job well done!
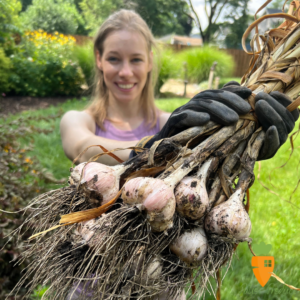 But what should I do in the spring?
I have a whole post on how to harvest and cure garlic! The best part is that by following these steps, you can easily grow all the garlic you cook with throughout the year. I haven’t bought garlic from a grocery store in years and know that you can become self-sufficient too!